How to Build Flavor Like a Professional Chef: The Complete Guide
Learn the professional techniques chefs use to create deep, complex, and unforgettable flavors in every dish — from layering aromatics and mastering the Maillard reaction to balancing acid, fat, salt, and heat.
Why Restaurant Food Tastes Better (And How You Can Close the Gap)
Have you ever wondered why a simple chicken breast at a restaurant tastes infinitely better than the one you make at home? The answer almost never comes down to better ingredients. Professional chefs understand something most home cooks overlook: flavor is built in layers, and each layer requires deliberate technique, timing, and balance.
This comprehensive guide breaks down the exact methods professional chefs use to create dishes with deep, complex, and memorable flavors. Whether you are a complete beginner or an experienced home cook looking to level up, these techniques will transform the way you approach every single meal.
The Foundation: Understanding the Five Pillars of Flavor
Before diving into technique, you need to understand the five fundamental pillars that every great dish relies on. Professional chefs think about these constantly, even if they do it instinctively after years of practice.
1. Salt
Salt is not just a seasoning — it is a flavor amplifier. It suppresses bitterness, enhances sweetness, and makes aromatic compounds more volatile, meaning you literally smell and taste more of your food. The key mistake most home cooks make is under-seasoning, or worse, adding salt only at the very end.
Pro tip:: Season at every stage of cooking. Add a pinch of salt when you sauté onions, another when you add garlic, and again when your sauce reduces. This builds depth rather than surface-level saltiness. Taste constantly and adjust.
2. Fat
Fat carries flavor molecules that water cannot. This is why butter, olive oil, cream, and rendered animal fats make everything taste richer. Fat also provides mouthfeel — that satisfying, coating sensation that makes a dish feel complete.
Pro tip:: Use different fats for different purposes. Olive oil for finishing and dressings, butter for sautéing and sauces, neutral oils like avocado or grapeseed for high-heat cooking, and rendered bacon fat or duck fat for roasting vegetables.
3. Acid
Acid is the most underused tool in home cooking. A squeeze of lemon, a splash of vinegar, or a spoonful of yogurt can completely transform a flat-tasting dish into something vibrant and alive. Acid brightens flavors, cuts through richness, and creates contrast.
Pro tip:: Always taste your dish before serving and ask yourself, "Does this need brightness?" If it tastes heavy, dull, or one-dimensional, acid is almost always the answer. Keep lemons, limes, multiple vinegars (red wine, sherry, rice, apple cider), and citrus juices on hand at all times.
4. Heat
Heat does not just cook food — it creates flavor. The Maillard reaction (browning), caramelization, and charring all produce hundreds of new flavor compounds that do not exist in raw ingredients. Learning to control heat is perhaps the single biggest upgrade a home cook can make.
Pro tip:: Do not rush the sear. Let your pan get properly hot before adding protein. Do not move the food around. Let it develop a deep golden-brown crust, which is where an enormous amount of flavor lives. Patience with heat yields exponential flavor rewards.
5. Time
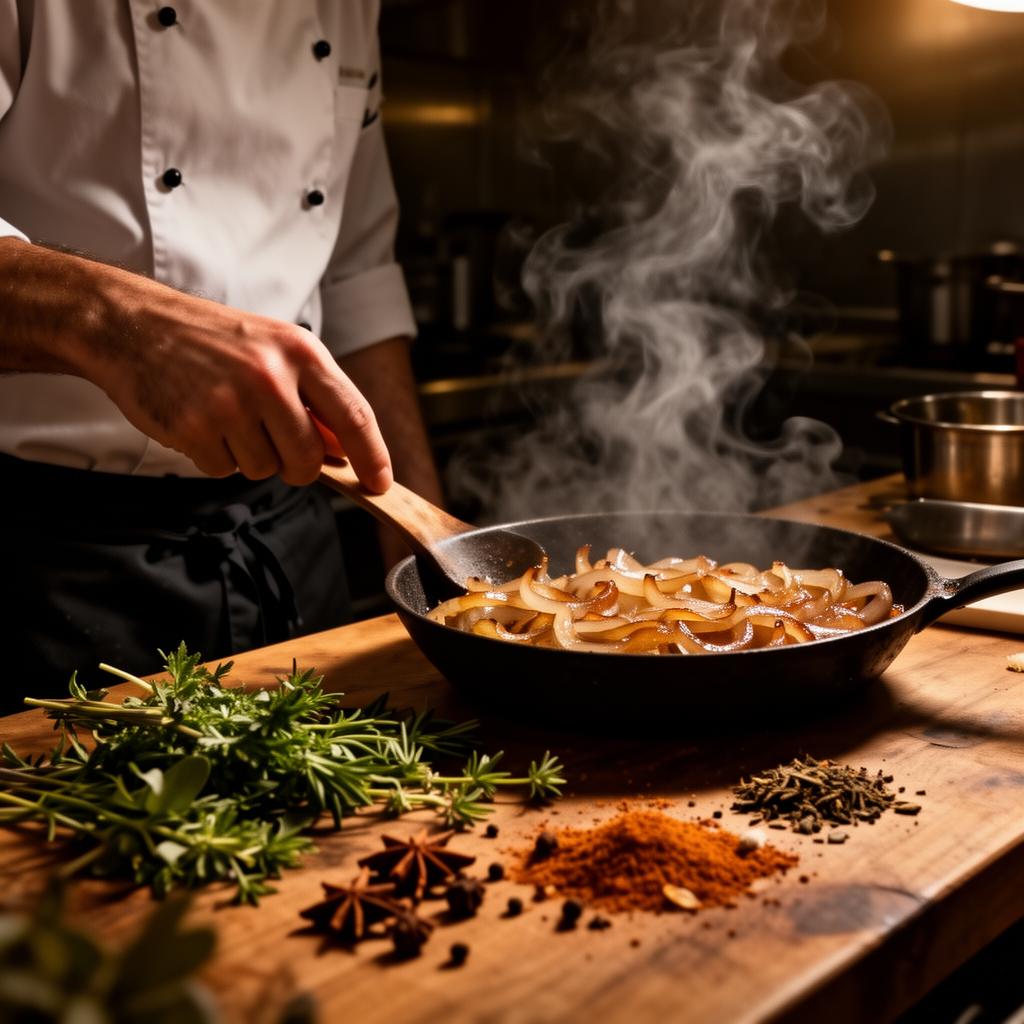
Some flavors need time to develop. Slowly caramelized onions taste completely different from quickly sautéed ones. A braise that simmers for three hours develops a depth that a thirty-minute version simply cannot match. Time allows flavors to meld, deepen, and become more than the sum of their parts.
Pro tip:: When a recipe says "cook onions until translucent, about 5 minutes," consider going to 15 or even 45 minutes for caramelization. The extra time transforms simple onions into a sweet, complex, deeply savory base for any dish.
The Maillard Reaction: Your Most Powerful Flavor Tool
The Maillard reaction is a chemical reaction between amino acids and reducing sugars that occurs at temperatures above 280°F (140°C). It is responsible for the flavors and aromas of seared steak, toasted bread, roasted coffee, and browned butter. Understanding and harnessing this reaction is the single biggest leap you can make in home cooking.
How to Maximize the Maillard Reaction
- Dry your proteins thoroughly. Surface moisture turns to steam and prevents browning. Pat meat, fish, and tofu dry with paper towels before cooking. For even better results, salt protein and leave it uncovered in the refrigerator for at least an hour, or overnight. This draws out moisture, seasons deeply, and creates an incredibly crispy crust.
- Use a heavy pan. Cast iron, carbon steel, and heavy stainless steel retain heat better, allowing consistent browning without hot spots. Avoid thin, lightweight pans for searing.
- Do not overcrowd the pan. Overcrowding drops the pan temperature dramatically, causing food to steam rather than brown. Cook in batches if necessary. This is one of the most common mistakes in home cooking and the easiest to fix.
- Choose the right fat. Use high smoke-point oils like avocado, grapeseed, or refined peanut oil for searing. Save butter and olive oil for lower-heat cooking or add them at the end for flavor.
- Let it be. Resist the urge to flip, stir, or move food around. Place it in the hot pan and leave it until a deep crust forms. If the food sticks, it is not ready to flip. When the Maillard reaction is complete, the food will release naturally.
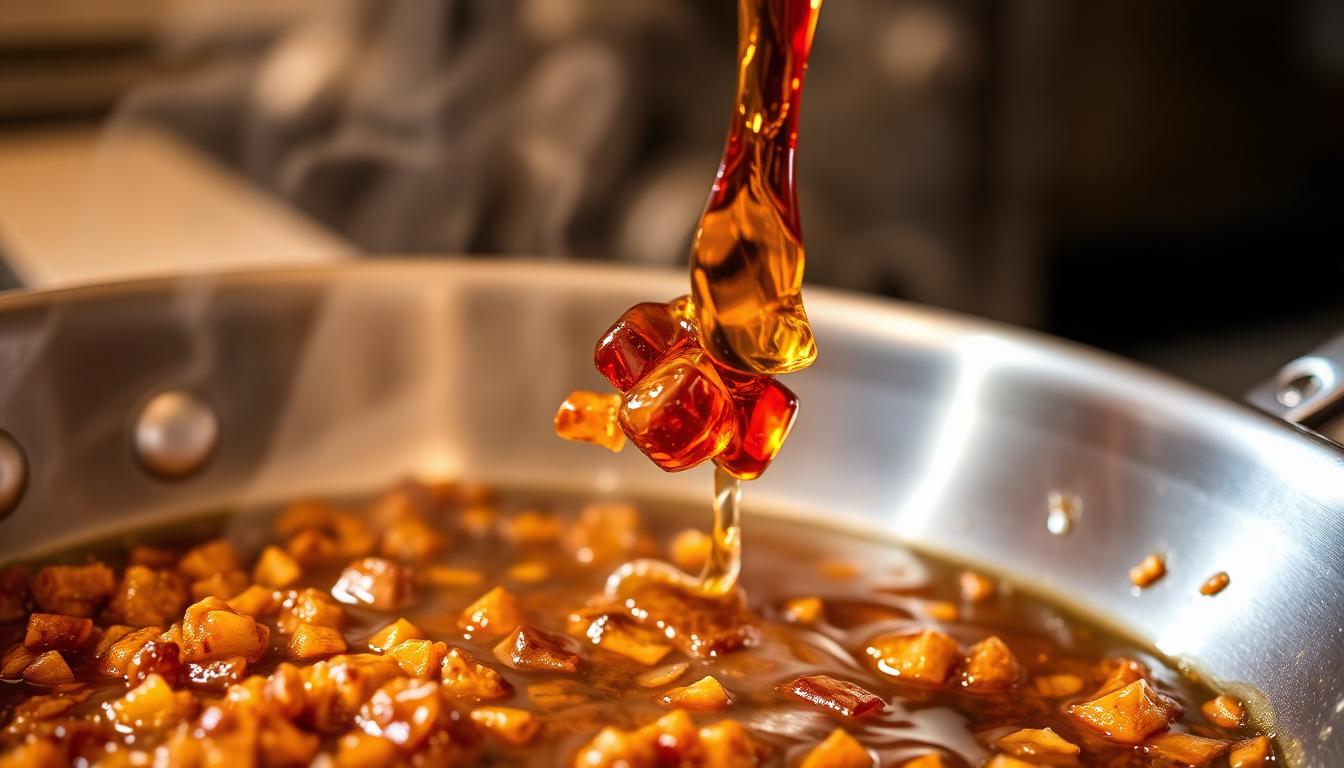
Deglazing: Capturing Flavor Others Throw Away
After you sear meat or sauté vegetables, the bottom of your pan will have a layer of browned bits called fond. This is concentrated, caramelized flavor — and most home cooks wash it down the drain. Professional chefs treat fond like liquid gold.
How to Deglaze Properly
- 1.Remove your seared protein or vegetables from the pan and set aside.
- 2.With the pan still on medium-high heat, add a splash of liquid — wine, stock, vinegar, or even water.
- 3.As the liquid hits the hot pan, it will sizzle and steam. Use a wooden spoon or spatula to scrape up all the browned bits from the bottom.
- 4.Let the liquid reduce by about half, concentrating the flavor.
- 5.This becomes the foundation of a pan sauce, a braising liquid, or a glaze.
Best liquids for deglazing:
- White wine — bright, acidic, pairs with chicken, fish, and vegetables
- Red wine — rich, deep, ideal for beef and lamb
- Stock or broth — adds body and savory depth without acidity
- Sherry or Marsala — complex and slightly sweet, great for mushroom dishes
- Balsamic vinegar — sweet-tart intensity, excellent for pork and root vegetables
- Beer — malty depth for stews, braises, and hearty dishes
Layering Aromatics: The Professional Approach
Professional kitchens build flavor from the ground up using layers of aromatics. Rather than adding all your garlic, onion, and spices at once, chefs add them at different stages to create complexity.
The Three Stages of Aromatics
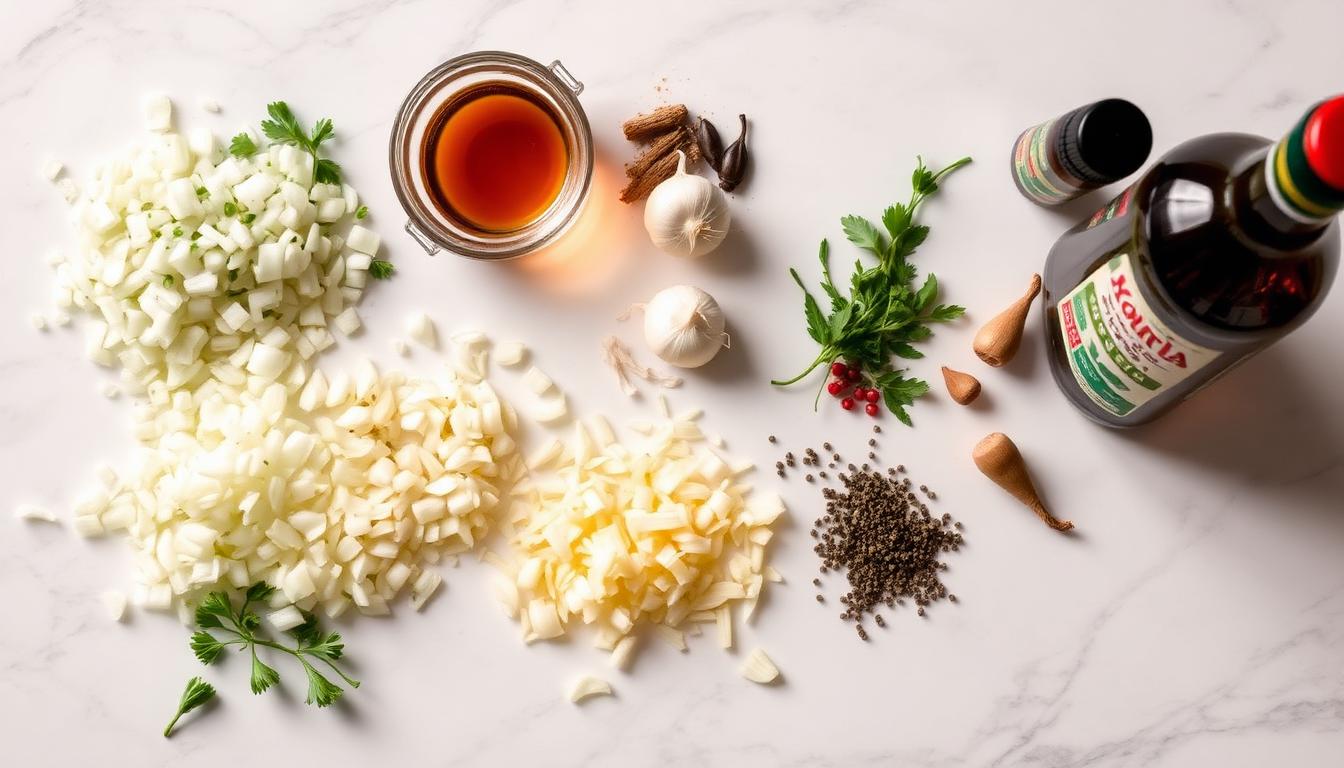
Stage 1 — The Base (Start of Cooking): Begin with your aromatic base: diced onions, carrots, and celery (mirepoix in French cooking, soffritto in Italian, the Holy Trinity of onion, celery, and bell pepper in Cajun cuisine). Cook these slowly in fat over medium-low heat until softened and slightly caramelized, 10 to 15 minutes. This creates the foundational flavor layer.
Stage 2 — The Middle (During Cooking): Add garlic, ginger, dried spices, and tomato paste during the middle of cooking. Dried spices need heat and time to bloom, releasing their essential oils and developing deeper flavor. Toast them in the fat for 30 to 60 seconds until fragrant before adding any liquid. Tomato paste benefits from being cooked until it darkens slightly, which concentrates its sweetness and removes the raw, tinny taste.
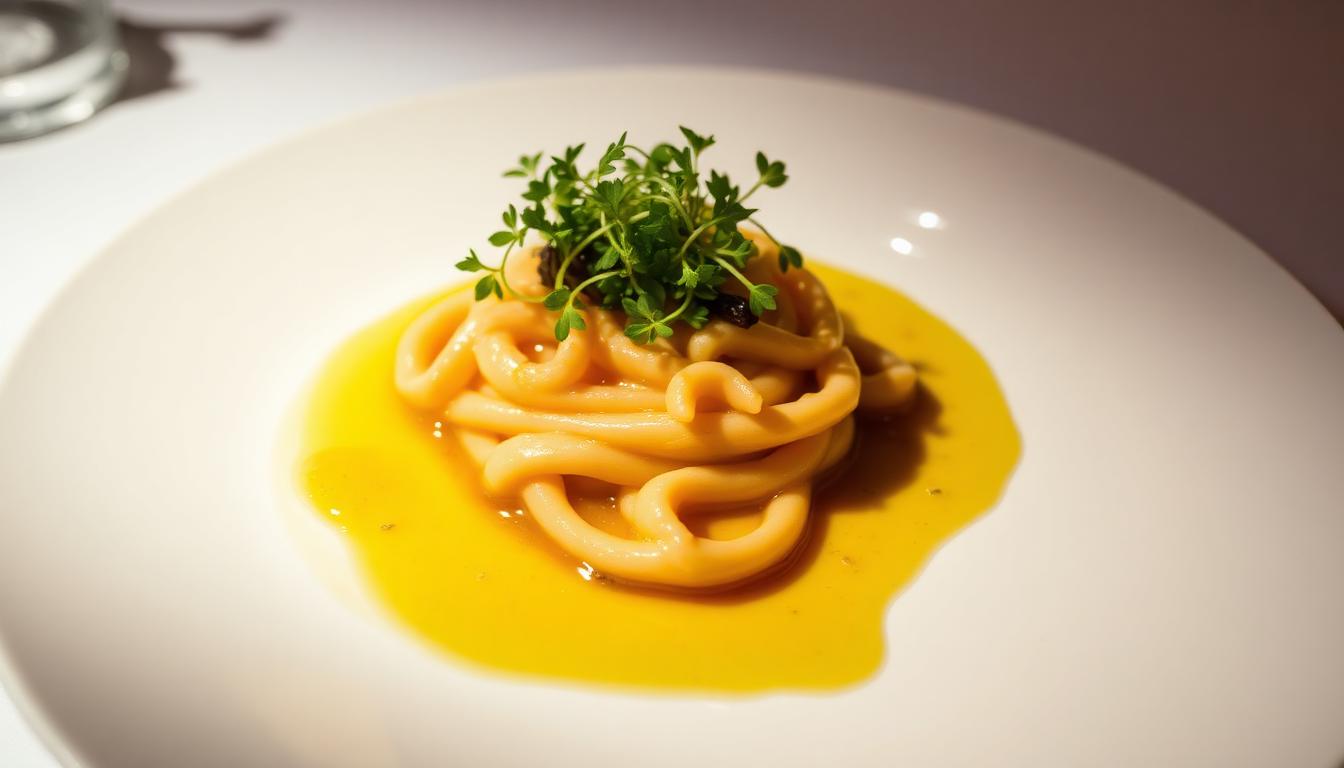
Stage 3 — The Finish (End of Cooking): Fresh herbs, citrus zest, finishing oils, and delicate spices go in at the very end. These ingredients provide brightness and aroma that cooking would destroy. Fresh basil, cilantro, mint, parsley, a squeeze of lemon, a drizzle of good olive oil, or a sprinkle of flaky sea salt — these finishing touches are what separate a good dish from a memorable one.
Umami: The Secret Weapon of Great Cooking
Umami is often called the fifth taste, alongside sweet, sour, salty, and bitter. It is that deep, savory, mouth-coating sensation that makes you want to keep eating. Professional chefs layer umami-rich ingredients throughout their cooking to create dishes with an almost addictive quality.
Everyday Umami Powerhouses
- Parmesan cheese — one of the highest natural sources of umami. Add rinds to soups and stews while they simmer, then remove before serving.
- Soy sauce — adds salt and umami simultaneously. Use sparingly in non-Asian dishes to deepen flavor without making anything taste specifically Asian.
- Tomato paste — concentrated umami. Cook it until it darkens in the pan for maximum impact.
- Mushrooms — dried mushrooms especially. Rehydrate dried porcini or shiitake, use the soaking liquid in sauces and risottos, and chop the mushrooms finely into the dish.
- Fish sauce — a few drops add remarkable depth to dressings, marinades, and even Italian sauces. It does not taste fishy when used in small amounts.
- Anchovies — melt them into hot olive oil at the start of cooking. They dissolve completely and leave behind pure savory depth.
- Miso paste — stir a tablespoon into soups, dressings, marinades, or even butter for an instant umami boost.
- Worcestershire sauce — a complex blend of fermented ingredients that adds depth to meats, stews, and even Bloody Marys.
Balancing Flavors: The Chef's Final Check
Before any dish leaves a professional kitchen, the chef tastes it and runs through a mental checklist. This is the most important habit you can develop as a home cook.
The Flavor Balance Checklist
- 1.Is it seasoned enough? If the flavors seem muted or flat, it almost certainly needs more salt. Add a pinch, stir, taste again.
- 2.Does it need brightness? If the dish tastes heavy, rich, or one-note, add acid — a squeeze of lemon, a splash of vinegar, or a dollop of yogurt.
- 3.Does it need richness? If the dish tastes thin or hollow, swirl in a pat of butter, a drizzle of cream, or a splash of good olive oil.
- 4.Does it need heat? A pinch of red pepper flakes, a dash of hot sauce, or some freshly ground black pepper can add dimension without making the dish spicy.
- 5.Does it need sweetness? Sometimes a tiny pinch of sugar or a drizzle of honey can round out sharp or overly acidic flavors.
- 6.Does it need texture contrast? A sprinkle of toasted nuts, crispy shallots, crunchy breadcrumbs, or fresh herbs can elevate a dish from good to extraordinary.
Practical Exercises to Sharpen Your Palate
Reading about flavor is one thing. Developing the ability to taste and adjust in real time takes practice. Here are exercises professional chefs use during their training.
Exercise 1: The Salt Progression Take a bowl of plain steamed rice. Taste it. Add a tiny pinch of salt, stir, and taste again. Repeat this five times. Notice how the rice transforms — the grain flavor becomes more pronounced, the texture seems to change, and at some point the salt becomes too much. This teaches you to identify the "sweet spot" of seasoning.
Exercise 2: The Acid Test Make a simple vinaigrette with olive oil and vinegar. Start with a 3:1 ratio of oil to vinegar. Taste it. Then try 2:1. Then 1:1. Notice how the balance shifts — from rich and flat to bright and sharp. Now add a pinch of salt, a tiny bit of mustard, and taste again. Notice how each addition changes the overall balance.
Exercise 3: The Blind Taste Cook two batches of the same simple recipe — a basic tomato sauce, for example. In one batch, add a splash of fish sauce, a grating of Parmesan rind, and a pinch of sugar. Taste them side by side. The difference illustrates how layering umami and balancing sweetness transforms a simple sauce into something complex and deeply satisfying.
Exercise 4: The Deglaze Challenge Sear a chicken thigh in a dry stainless steel pan until deeply browned. Remove the chicken and deglaze with a splash of white wine. Taste the resulting liquid. Now add a spoonful of butter and a squeeze of lemon. Taste again. In under a minute, you have created a restaurant-quality pan sauce from what most people would have washed away.
Putting It All Together: The Professional Workflow
Now that you understand the individual techniques, here is how a professional chef thinks through building flavor for a simple dish — let us say a pan-seared chicken breast with vegetables.
- 1.Season the chicken generously with salt and pepper, ideally an hour ahead of time for deeper seasoning.
- 2.Dry the skin thoroughly with paper towels for maximum Maillard browning.
- 3.Heat the pan with a high smoke-point oil until it shimmers.
- 4.Sear the chicken skin-side down without moving it for five to seven minutes until deeply golden.
- 5.Flip and finish in the oven at 400°F until cooked through.
- 6.Rest the chicken while you build the sauce.
- 7.Deglaze the pan with white wine, scraping up all the fond.
- 8.Add aromatics — a spoonful of minced shallot, a clove of garlic.
- 9.Add stock and reduce by half.
- 10.Finish with butter, a squeeze of lemon, and fresh herbs.
- 11.Taste and adjust — salt, acid, richness, heat.
- 12.Plate with intention — sauce underneath, chicken on top, garnish of fresh herbs.
Every step in that workflow adds a layer of flavor. Skip any one of them and the dish is still good. Execute all of them and the dish is extraordinary.
Common Flavor-Building Mistakes to Avoid
- Not tasting as you cook. This is the number one mistake. Taste at every stage and adjust seasoning continuously.
- Adding salt only at the end. Late salting creates surface-level seasoning rather than deep, integrated flavor.
- Cooking on low heat when you need high. Fear of burning leads to steaming instead of searing, which means missing out on Maillard browning entirely.
- Overcrowding the pan. Always cook in batches if your pan is too small. Crowding leads to steaming.
- Forgetting acid. Most home-cooked dishes that taste flat are missing acid, not salt.
- Using old spices. Ground spices lose their potency after six to twelve months. Buy whole spices, toast them, and grind fresh for maximum impact.
- Skipping the fond. Always deglaze. That browned residue is concentrated flavor waiting to be captured.
Final Thoughts
Building professional-level flavor is not about expensive ingredients, fancy equipment, or culinary school training. It is about understanding the principles — salt, fat, acid, heat, and time — and applying them deliberately at every stage of cooking. It is about patience, tasting constantly, and developing the confidence to adjust as you go.
Start with one technique from this guide in your next meal. Layer your aromatics more intentionally. Deglaze your pan. Add a squeeze of lemon at the end. Taste and season throughout. Small changes compound into transformative results. Within a few weeks of conscious practice, you will notice a dramatic difference in everything you cook — and so will everyone lucky enough to eat at your table.
Share this article
Ready to cook something amazing?
Enter your ingredients and let Word Recipe generate the perfect meal.
Try Word Recipe