How to Make Perfect Homemade Pizza Dough: A Step-by-Step Guide
Learn how to make restaurant-quality pizza dough at home with just 5 simple ingredients. This foolproof recipe produces a crispy, chewy crust every single time.
There is nothing quite like the smell of freshly baked pizza filling your kitchen. While ordering delivery is convenient, making your own pizza dough from scratch is surprisingly simple — and the results are far superior to anything that arrives in a cardboard box. Once you master this basic dough recipe, you will never look at store-bought crusts the same way again.
Why Homemade Pizza Dough Is Worth the Effort
The difference between homemade and store-bought pizza dough comes down to one thing: fermentation. When you give your dough time to rise slowly, the yeast produces complex flavors and creates an airy, bubbly texture that no pre-made dough can replicate. Commercial pizza dough is often loaded with preservatives, conditioners, and excess sugar to speed up the process — sacrificing flavor and texture in the name of convenience.
Homemade dough requires just five ingredients: flour, water, salt, yeast, and olive oil. That simplicity is what makes it so rewarding. You control every variable, from hydration level to fermentation time, allowing you to tailor the crust to your exact preferences.
The Perfect Pizza Dough Recipe
This recipe makes enough dough for two 12-inch pizzas. The total active time is about 15 minutes, with 1-2 hours of rising time.
Ingredients
- 500g bread flour (or tipo 00 flour for Neapolitan style)
- 325ml warm water (around 38°C / 100°F)
- 7g instant yeast (one standard packet)
- 10g fine sea salt
- 15ml extra-virgin olive oil
Step 1: Mix the Dough
Combine the flour and salt in a large bowl. In a separate container, dissolve the yeast in the warm water and let it sit for 5 minutes until slightly foamy. Pour the yeast mixture and olive oil into the flour, then stir with a wooden spoon until a shaggy dough forms. Do not worry about smoothness at this stage — it will come together during kneading.
Step 2: Knead Until Smooth
Turn the dough onto a lightly floured surface and knead for 8-10 minutes. The dough should transform from rough and sticky to smooth and elastic. You will know it is ready when you can stretch a small piece thin enough to see light through it without tearing — this is called the windowpane test.
Step 3: First Rise
Shape the dough into a ball and place it in a lightly oiled bowl. Cover with plastic wrap or a damp kitchen towel and let it rise in a warm spot for 1 to 2 hours, or until doubled in size. For even better flavor, you can do a slow cold rise in the refrigerator for 24-72 hours — this develops deeper, more complex flavors through extended fermentation.
Shaping Your Pizza
Once the dough has risen, divide it into two equal pieces. Shape each piece into a tight ball by pulling the edges underneath and pinching them together at the bottom. Let the balls rest for 15-20 minutes under a towel — this relaxes the gluten and makes stretching much easier.
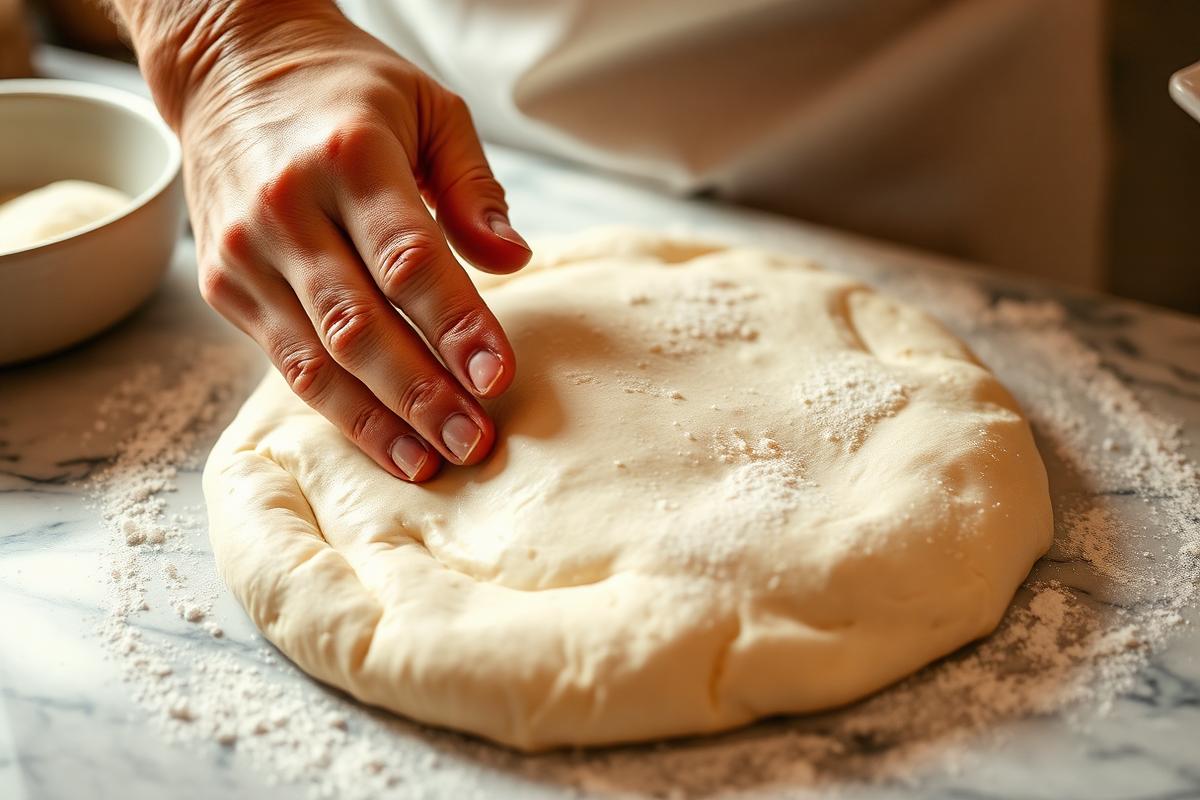
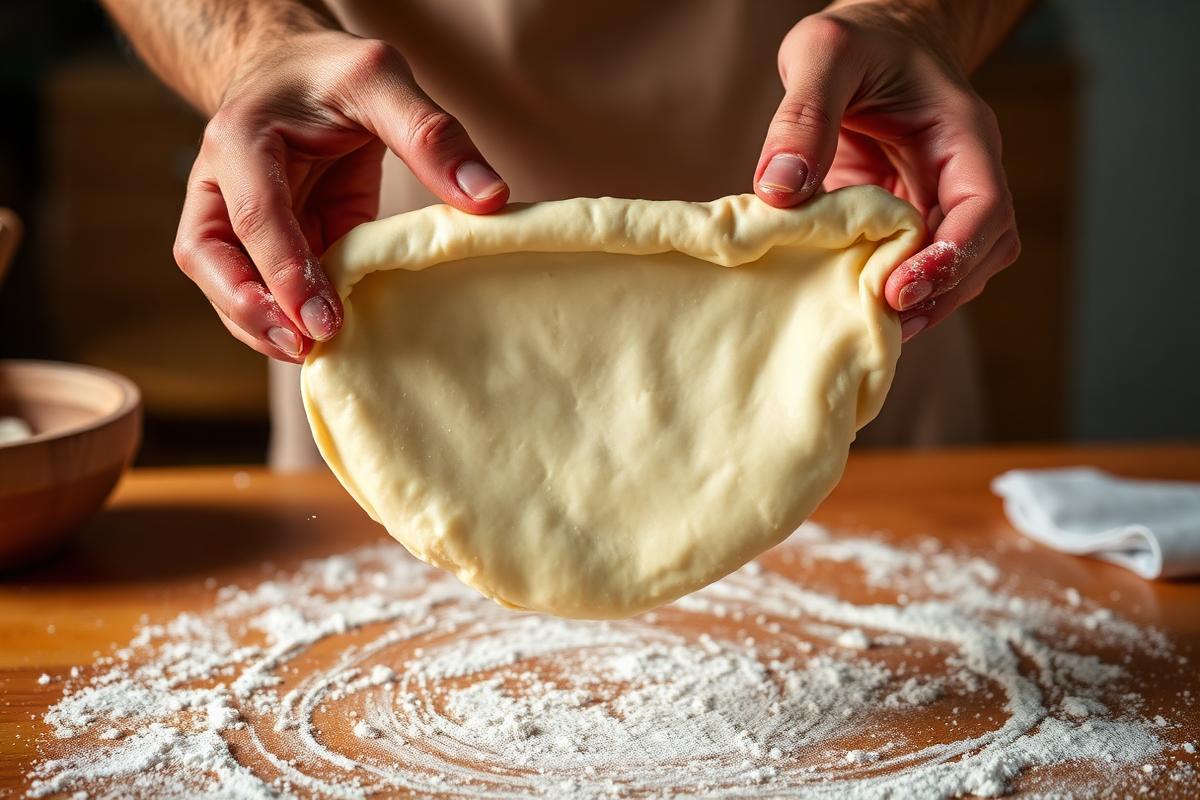
To shape, place the dough ball on a lightly floured surface. Using your fingertips, press from the center outward, leaving a 1-inch border for the crust. Then pick up the dough and gently stretch it over your knuckles, rotating as you go. Never use a rolling pin — it crushes the air bubbles that give pizza its characteristic chew and rise.
Baking Tips for the Best Crust
The secret to a great homemade pizza is heat. Professional pizza ovens reach temperatures of 450-500°C (850-900°F), which is why their crusts are so beautifully blistered and charred. While your home oven cannot match that, there are ways to get close.
Use a Pizza Stone or Steel
Preheat your oven to its maximum temperature (usually 250-275°C / 480-525°F) with a pizza stone or baking steel inside for at least 45 minutes. The preheated stone provides intense bottom heat that crisps the base and creates those coveted leopard-spotted char marks. A baking steel conducts heat even more efficiently than stone and is virtually indestructible.
Keep Toppings Simple
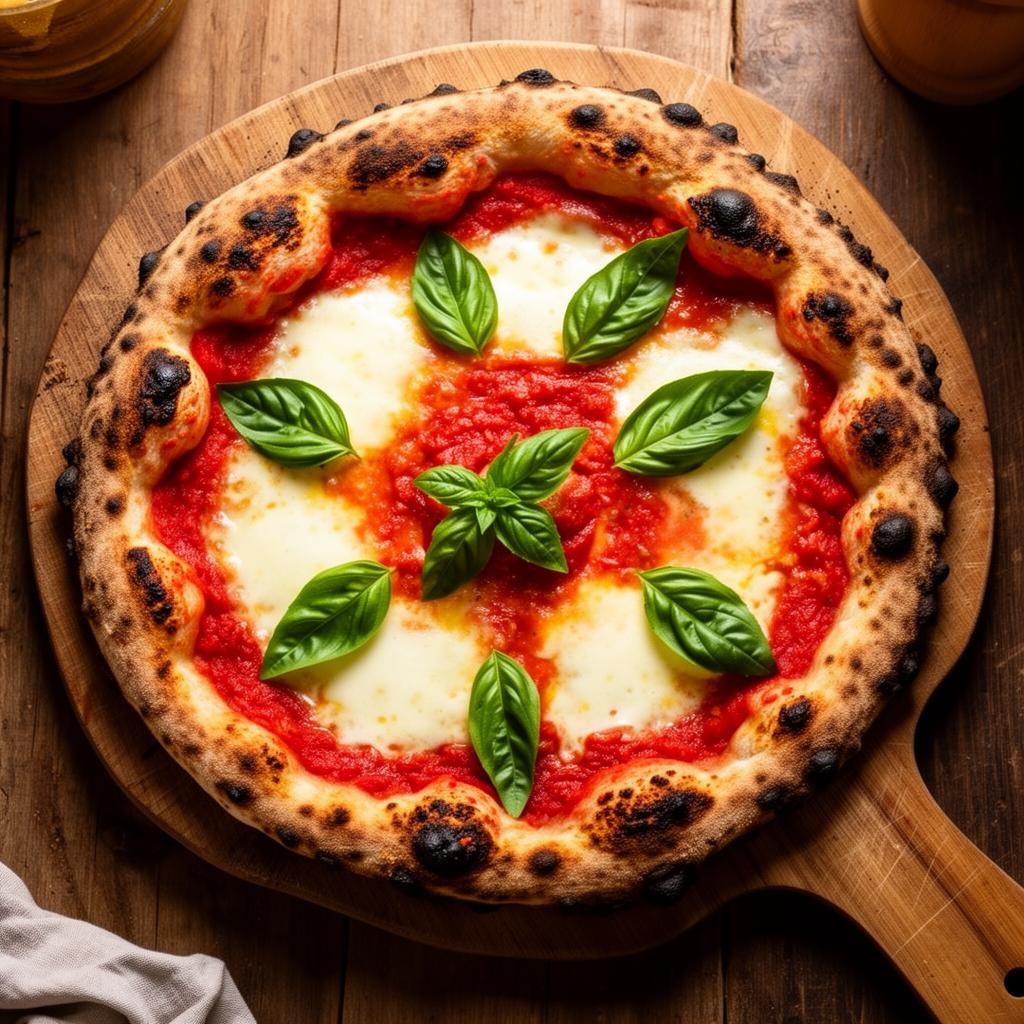
One of the biggest mistakes home pizza makers commit is overloading their pizzas with too many toppings. Excess moisture from vegetables, too much cheese, or too many layers prevents the crust from crisping properly. Follow the Italian philosophy: fewer, better ingredients. A classic Margherita — San Marzano tomato sauce, fresh mozzarella, basil, and a drizzle of olive oil — is all you need to showcase a perfect crust.
Bake Time
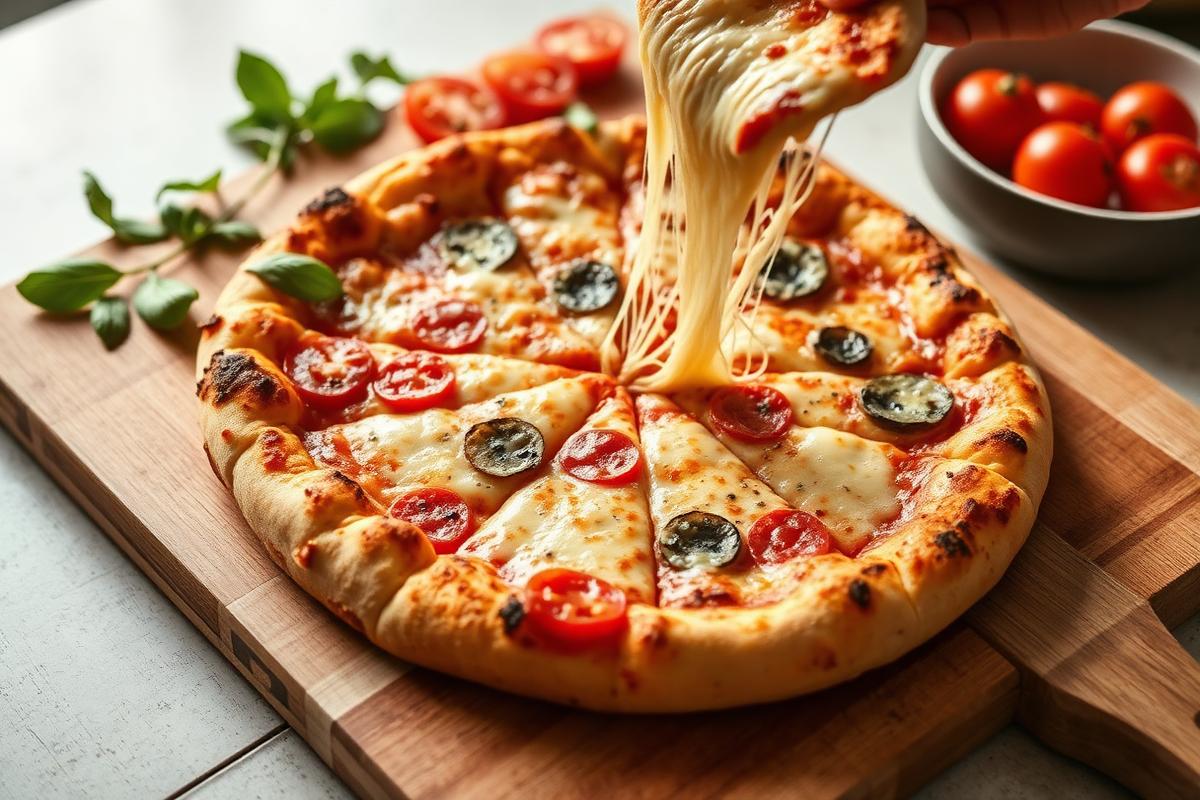
At maximum oven temperature, a pizza should take only 8-12 minutes. Watch for the crust to puff up and turn golden with spots of brown. The cheese should be melted and bubbling with a few caramelized patches. If you have a broiler, switch it on for the final 1-2 minutes to blister the top.
Troubleshooting Common Problems
- Dough is too sticky: Add flour one tablespoon at a time during kneading. High humidity can affect hydration levels.
- Dough tears when stretching: Let it rest longer. The gluten needs more time to relax.
- Soggy center: Your oven or stone was not hot enough, or you used too many wet toppings. Pat vegetables dry and avoid excess sauce.
- Crust is too dense: Ensure your yeast is fresh and the water temperature is correct. Water that is too hot (above 46°C / 115°F) will kill the yeast.
- Uneven baking: Rotate the pizza halfway through baking for even browning.
Storage and Make-Ahead Tips
Pizza dough freezes beautifully. After the first rise, divide the dough into portions, wrap tightly in plastic wrap, and freeze for up to 3 months. To use, transfer to the refrigerator the night before and let it thaw and continue fermenting slowly — frozen-then-thawed dough often tastes even better than fresh because of the extended fermentation time.
You can also refrigerate the dough for up to 3 days after the initial rise. The longer cold fermentation develops a slightly tangy, more complex flavor that many pizza enthusiasts prefer. Just remember to bring the dough to room temperature for 30-60 minutes before shaping.
Making pizza at home is one of the most satisfying cooking projects you can tackle. With just a handful of pantry staples and a bit of patience, you can produce pizzas that rival your favorite pizzeria. The key is practice — each time you make dough, you will develop a better feel for hydration, kneading, and shaping. Before long, Friday pizza night will become the highlight of your week.
Share this article
Ready to cook something amazing?
Enter your ingredients and let Word Recipe generate the perfect meal.
Try Word Recipe